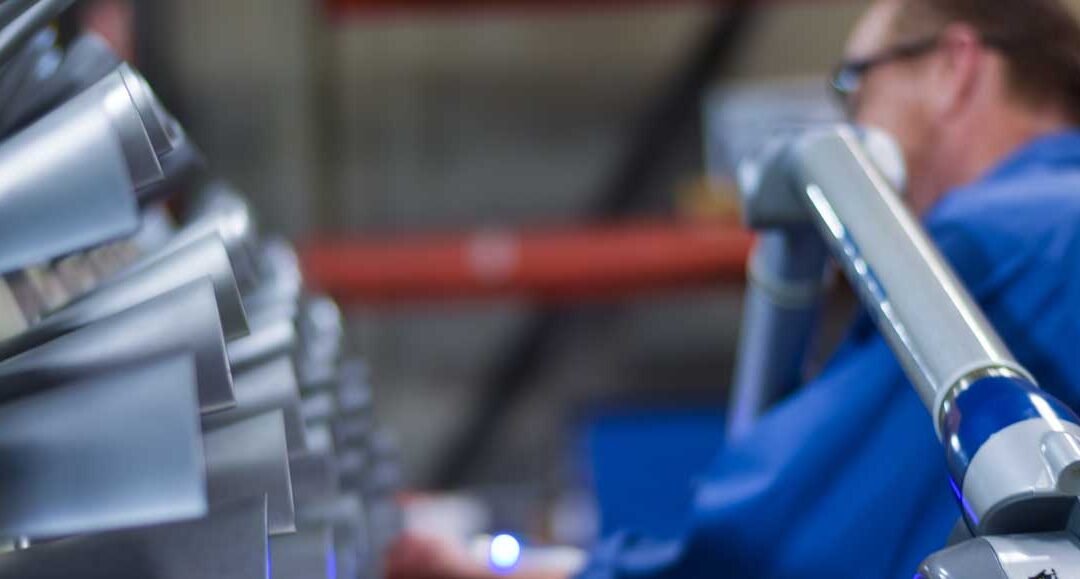
The experienced RMS engineering team continues to employ the latest technology to augment RMS’ ability to deliver high-quality solutions for our customers. One such piece of tech is the Faro Arm 3D scanning tool, which RMS uses at both the Bethlehem, PA and Houston, TX shops. This important tool has a number of applications which include inspections, reverse engineering, and assists RMS in producing the best possible results for its customers. At RMS the Faro Arm is typically used for:
- Reverse Engineering
- Acquire precise digital measurement data on parts or assemblies for which blueprints or CAD drawings do not exist.
- CAD Based Inspection
- Quickly identify deviations from nominal CAD data with 3D metrology solutions from FARO.
- Dimensional Inspection
- Quickly capture measurements, perform inspections in 3D and ensure proper tolerances are achieved with FARO products and expertise.
- First Article Inspection
- Ensure first article parts meet design specifications and tolerances before accepting them and putting them into production.
- In-Process Inspection
- Inspect parts in-process, directly on or at the machine producing them. Eliminate inspection bottlenecks. Save the time and effort required to pull the part off the machine, transport to inspection, send it back to the machine, re-mount (and re-align), and re-inspect.
- Incoming Inspection
- Prevent out-of-tolerance parts from reaching assembly and ensure high-quality products.
As parts arrive, RMS compares the part against the drawing where applicable to ensure the dimensions of the parts are correct. Depending on the tolerances if outside the faro arm tolerance, we will use regular inspection tools along with the faro arm. Parts that we have a solid model are imported into Inspector software where RMS scans the part and overlays the polygonal model to determine if there are any deviations, which includes GD&T measurements (Geometric Dimensioning and Tolerance). Upon completion of these inspections, a final report is drafted up and part proceeds to its final destination.
Reverse Engineering
In addition to inspection capabilities, RMS’ engineers use the Faro Arm to reverse engineer parts and gather the required data to baseline components. This data is then used by RMS’ engineers to upgrade and improve upon current designs using the latest in engineering techniques and decades of experience. The Faro Arm’s ability to gather the crucial data needed to reverse engineer components makes it a critical tool used at both of RMS’ shops. Below are some examples of reverse engineering activities to feature the Faro Arm:
RMS Houston Shop
RMS was recently contacted by a customer who wanted to replace their impeller / rotor in a single-stage overhung centrifugal compressor with an upgraded design. The RMS Houston shop used the latest in Faro Arm technology and scanning programs to scan the customer’s current impeller / rotor so that RMS’ engineering team can reverse engineer and then improve upon its design.
RMS used the scans from the Faro Arm to create a 3D model of the impeller that was then analyzed by the RMS engineering team who used this data to start working on the improved design. RMS’ in-house aerodynamicist also used this modeling data to design the replacement impeller. The final improved impeller design also benefitted from RMS AC Compressor engineering experience and intellectual property thanks to decades of experience designing impellers for similar applications.
Thanks to the data gathered with the use of the Faro Arm, RMS will supply the customer with an impeller that will fit while also providing improved performance. The ability to reverse engineer components allows RMS to service and upgrade any component regardless of access to engineering drawings.
RMS Bethlehem Shop
We recently had an IR 3000 frame axial compressor in our Bethlehem shop for a routine overhaul. The customer had a complete spare unit and was able to ship the entire axial compressor, casing included, to RMS at the completion of its operating campaign.
The inspection found that the first and second stage rotor blades and discs had suffered corrosion damage and should be retired from service. RMS and the customer took advantage of this opportunity to modify the design of the replacement blades and discs to rerate the compressor to achieve 3% increased flow capacity.
As part of the repair and rerate, the existing compressor casing flow path was laser scanned with the Faro arm laser scanner. Using this data, RMS was able to optimize the tip height of the replacement rotor blades to balance the need for maximum efficiency with the requirement to minimize the potential for an in service blade tip rub.
Conclusion
The use of Faro Arm 3D scanning technology allows RMS to deliver engineered solutions for rotating equipment of every OEM. The ability to gather critical data required to engineer upgraded components allows RMS to deliver the quality results our customers expect. Contact RMS today to learn more about how we can leverage our experience safe and technology to better serve your needs.

